
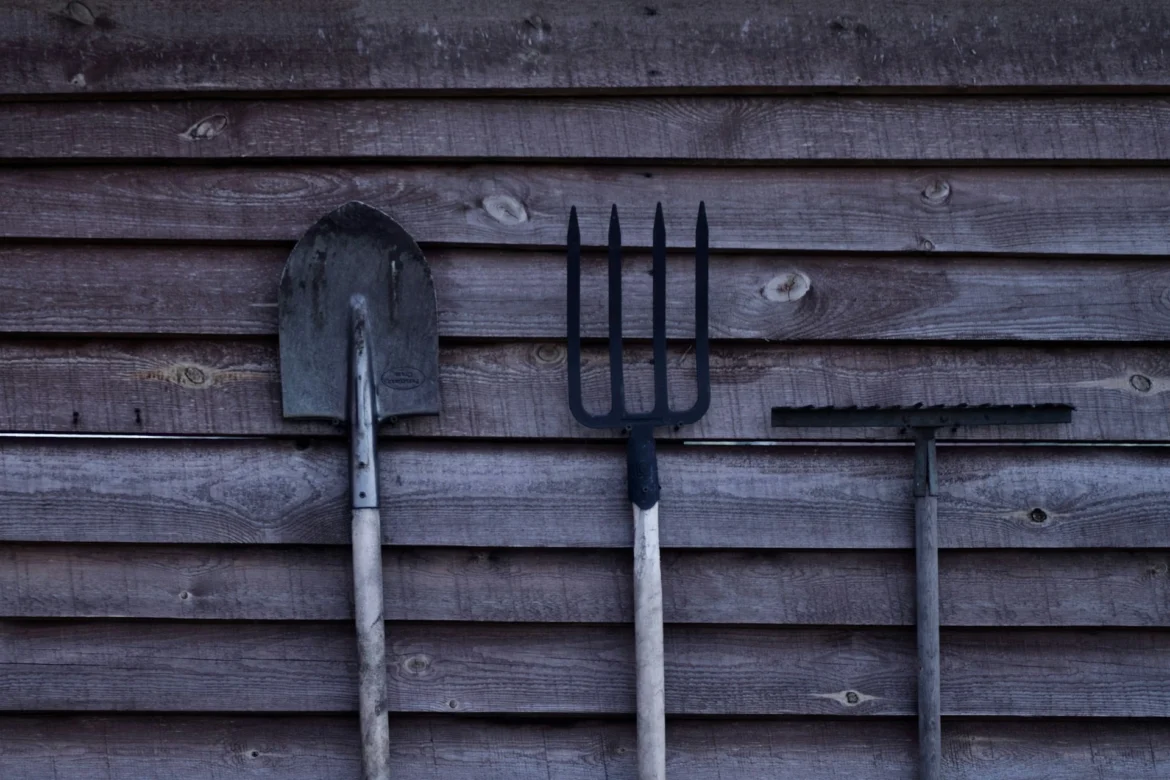
A messy shed is a time thief. You head out for a quick weeding session, spend ten minutes hunting for the right tool, and by the time you’ve found it, you’ve lost the mood entirely. If you’re ready to choose a garage or shed wall and actually do something useful with it, a dedicated garden tool storage rack is the project worth starting this weekend.
Here’s the thing: it doesn’t need to be complicated. Even a modest setup transforms how the whole space feels.
Pick Your Spot First
Wall-mounted racks win every time. They pull tools off the floor, free up walking space, and make everything visible at a glance — which sounds simple until you’ve spent three minutes untangling a rake from a pile of forks in a dark corner.
Before you buy a single screw, measure the wall carefully. Long-handled tools like spades and forks need vertical clearance; smaller hand tools can sit on lower hooks or a shelf. Work out what you’re storing, then plan the layout around actual use rather than aesthetics.
Materials Matter More Than You’d Think
Timber is the go-to for most DIYers — affordable, easy to cut, and more than strong enough for garden kit. Pair it with metal hooks and brackets and you’ve got a setup that’ll last years without fuss.
The fixings are where people often cut corners. Don’t. When you’re mounting battens into brickwork or concrete — which most garages involve — you need fixings rated for load-bearing applications. Many people use these hammer and frame fixings to anchor their support battens securely into masonry, giving the whole structure a stable base that won’t shift when you yank a heavy spade off the wall in a hurry.
Building It: Simpler Than You Expect
The core structure is just horizontal timber battens fixed to the wall. From there, hooks and holders do the rest.
Mark your mounting points. Check they’re level — twice. Fix the battens, then work out hook placement based on your actual tools rather than guessing. Spacing is worth thinking through properly here; handles tangle fast when things are too close together, and you want to be able to grab one item without dislodging three others.
Add a shelf above or below if you need storage for smaller gear: gloves, twine, seed packets, plant labels, all the bits that otherwise end up scattered across every surface.
Organisation Is Half the Job
Building the rack is the easy part. Organising it properly is what separates a genuinely useful system from one that descends back into chaos within a month.
Keep the tools you use every week at eye level — easy reach, no effort. Seasonal stuff (think long-handled pruners or the frost cloth) goes higher or lower, out of the prime zone. Group by type: long-handled tools together, hand tools together, accessories in their own section. When everything has a logical home, putting things back becomes automatic rather than a decision.
Keep It in Good Shape
Check the fixings every few months. Tighten anything that’s worked loose, and keep an eye on the timber if moisture ever gets in. A dry, clean storage area does most of the preservation work for you — both for the rack and the tools hanging on it.
Five minutes of occasional checks is worth it. A rack that’s slowly pulling away from the wall is a hazard, not just an annoyance.
Worth doing right. A well-built garden tool storage rack pays back the time you put into it every single time you walk into that space and find exactly what you need, exactly where you left it.